 Bitnami Applications
- It allows deploying systems like Wordpress, Drupal, Jenkins
and many others in minutes, making life easier for IT
administrators.
- BITNAMI uses a set of scripts for installation and
adjustment of the base operating system and everything necessary
for the operation of an application.
- These systems are based on Ubuntu Server, and all applications are Open Source.
List of available Bitnami Applications
Create a virtual machine for a Bitnami system
To install a system with any of the Bitnami applications, you
must install a new virtual machine, please take a loot at section
Creating
a virtual machine and follow the procedure.
IMPORTANT: Your virtual machine must have at least 5GB of
disk space and a Public or NAT IPV4 Address.
Example: Installing Wordpress with Bitnami
- Once you have created the virtual machine, the "Install Operating System" window appears
- Choosing the option BITNAMI->Wordpress XXX.
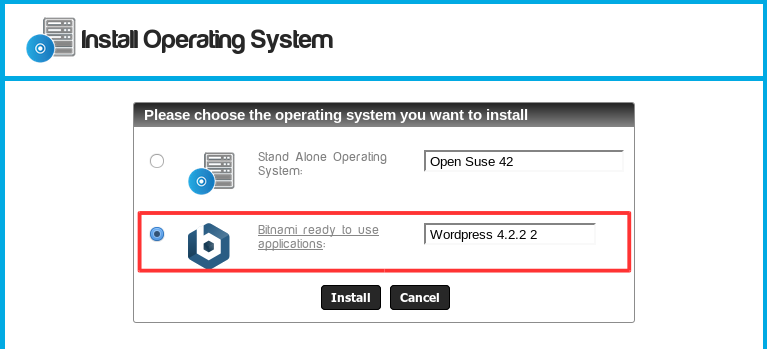
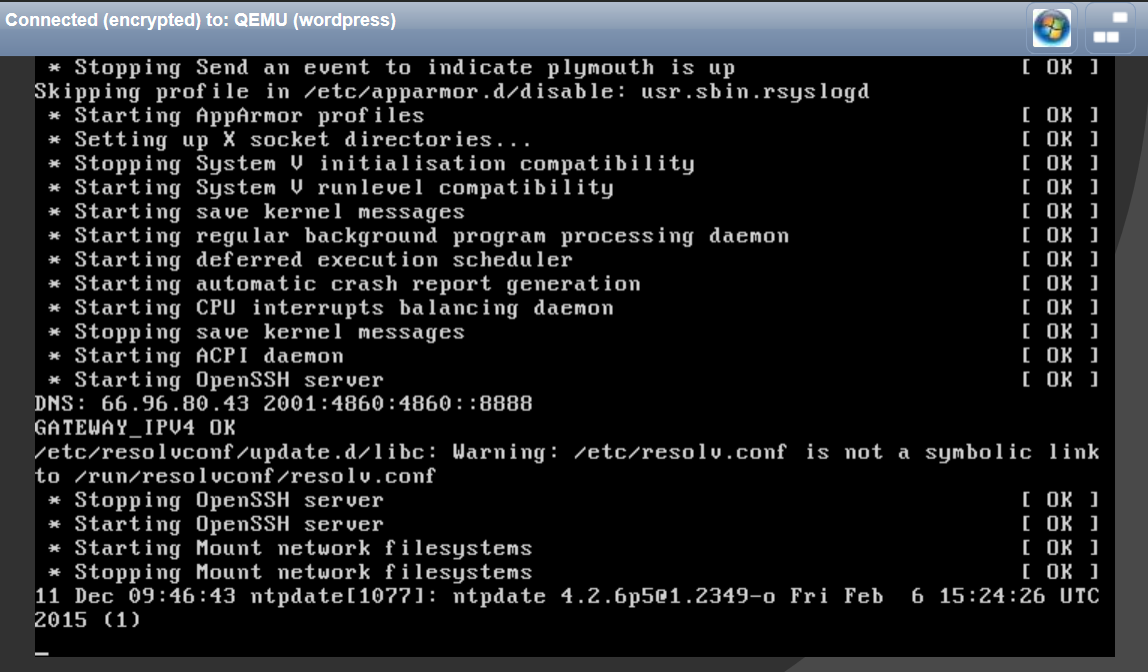
- Click on the Install button. The installation process begins.
It is normal to see some screens of running commands.
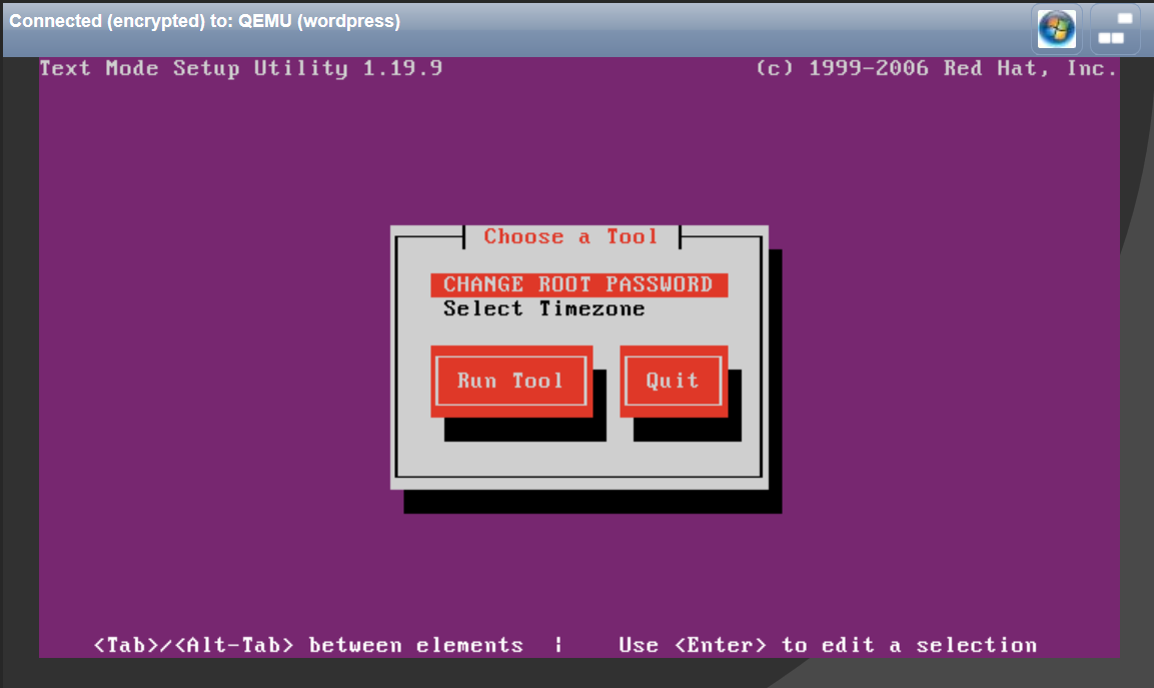
- At the end of the process use the "CHANGE ROOT PASSWORD" tool.
- Then select the option Quit (Use the TAB Key).
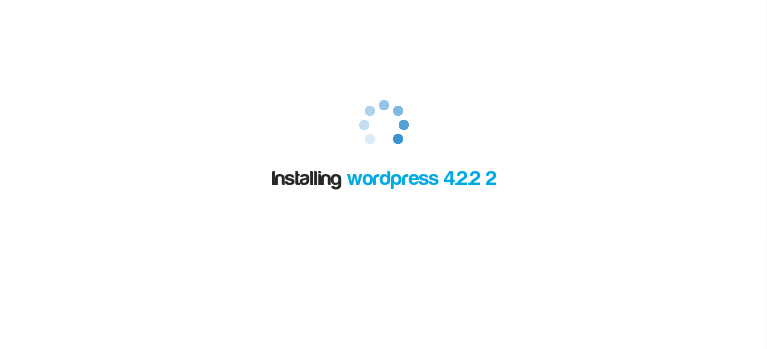
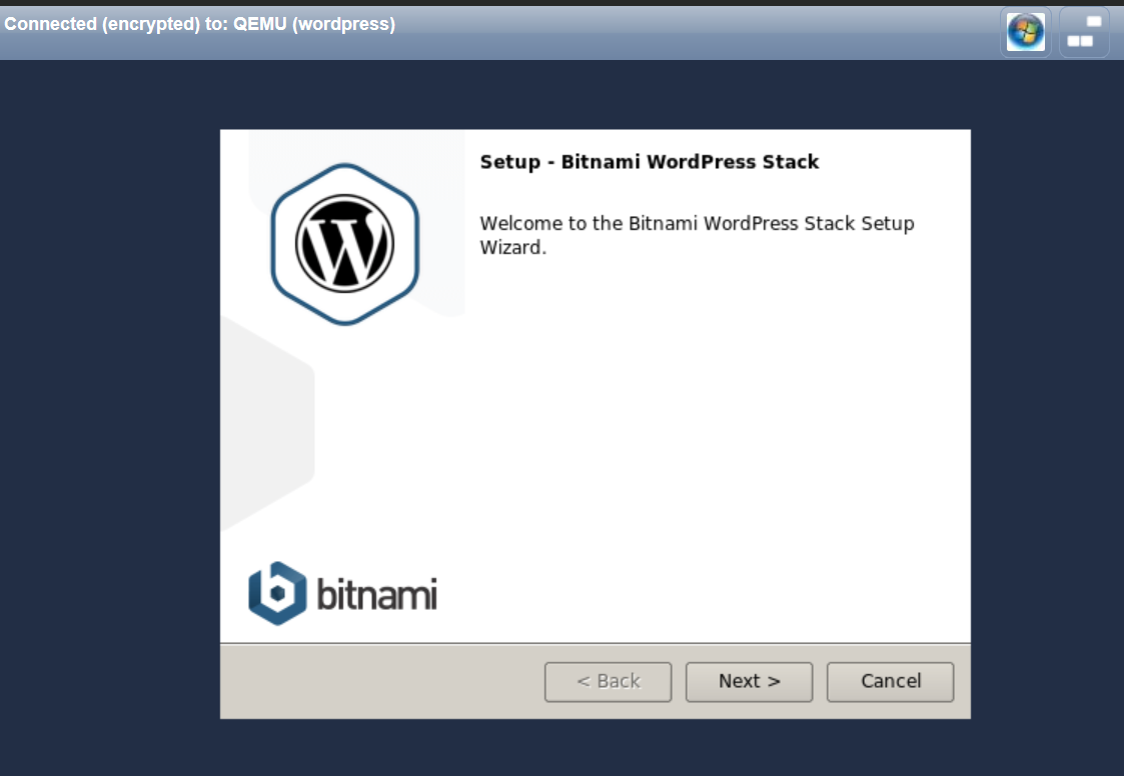
Installing Wordpress
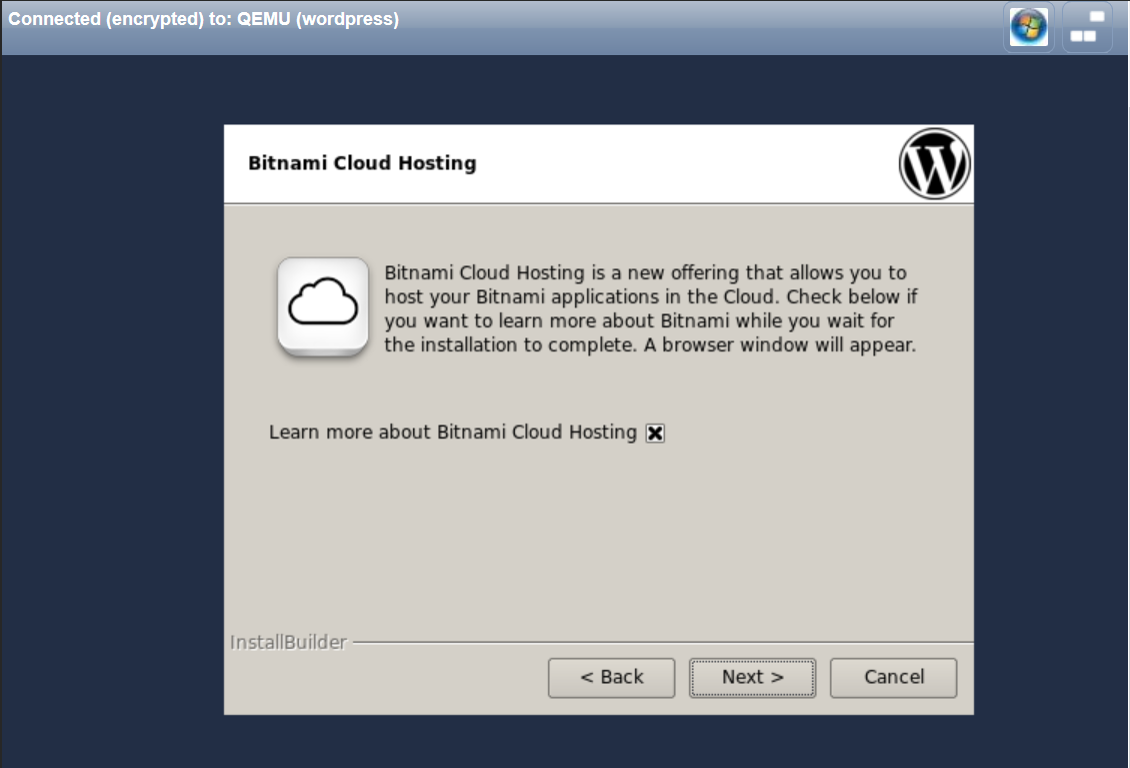
When the base operating system is installed, the system will download the application installer from the bitnami.com web site.Please be patient, the post-installation wizard will start after several seconds.
- Choose the language.
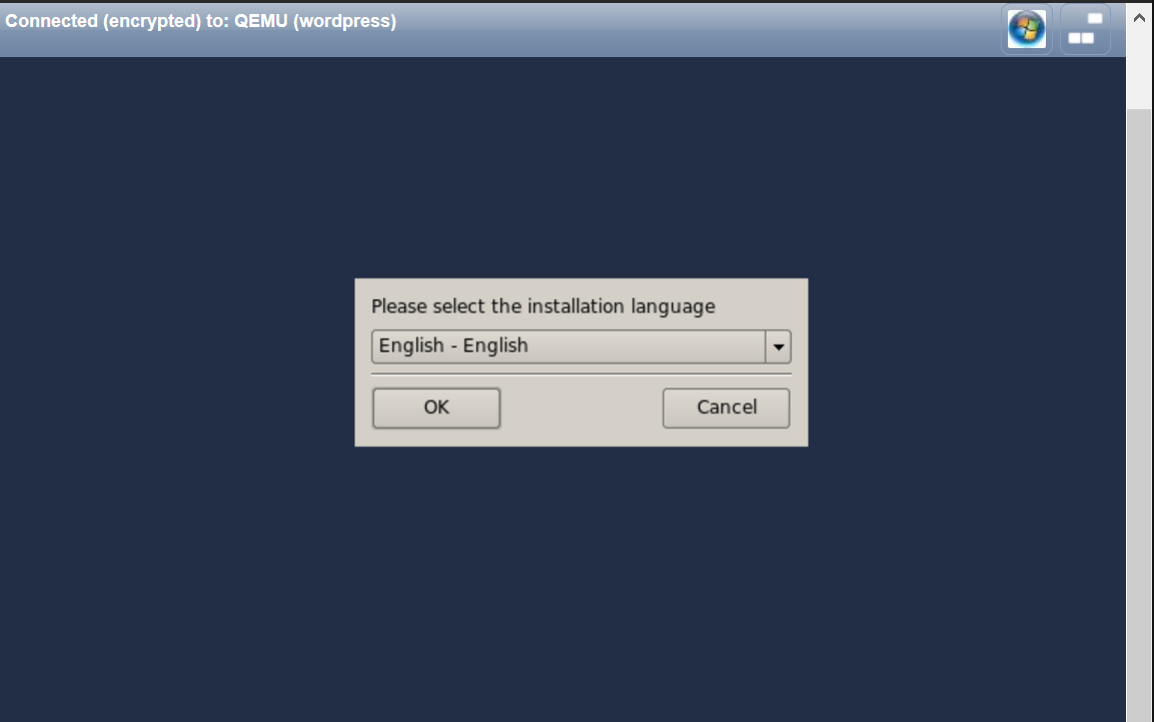
- Click on Next.
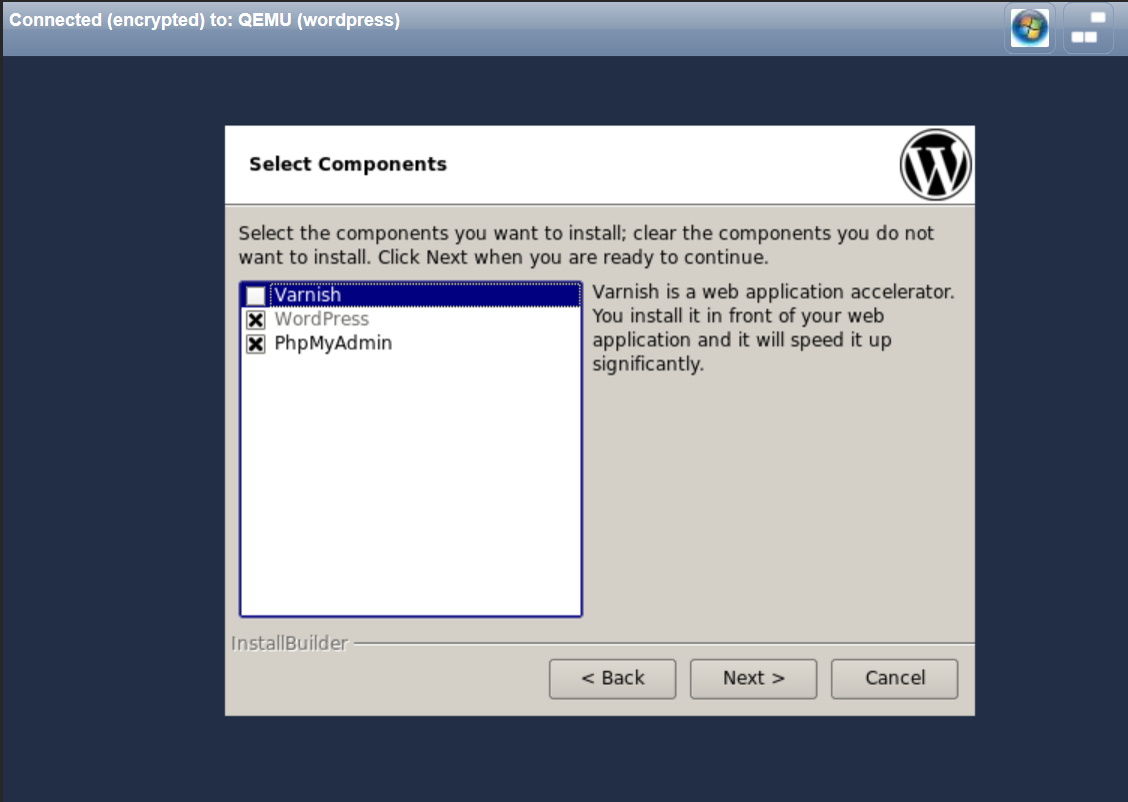
- Choose the components to install. Click on Next.
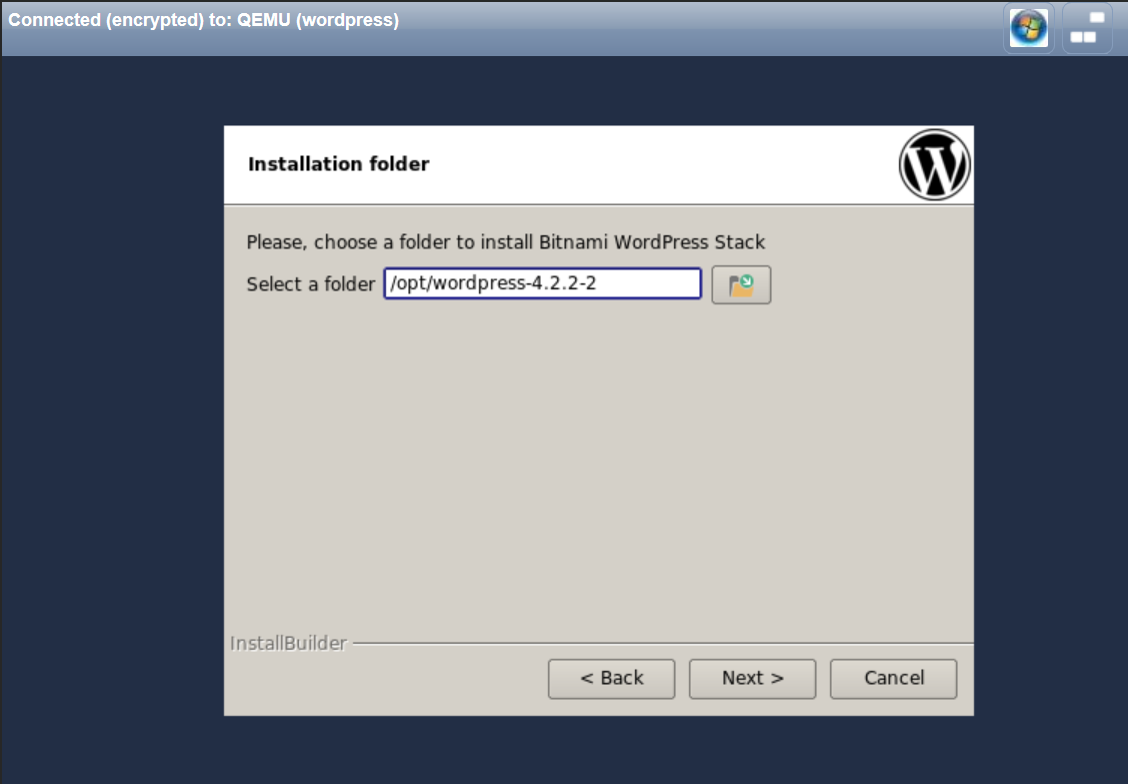
- Select the folder where you installed Wordpress. Click on Next.
- Provide the administrator account information. Then click on Next.
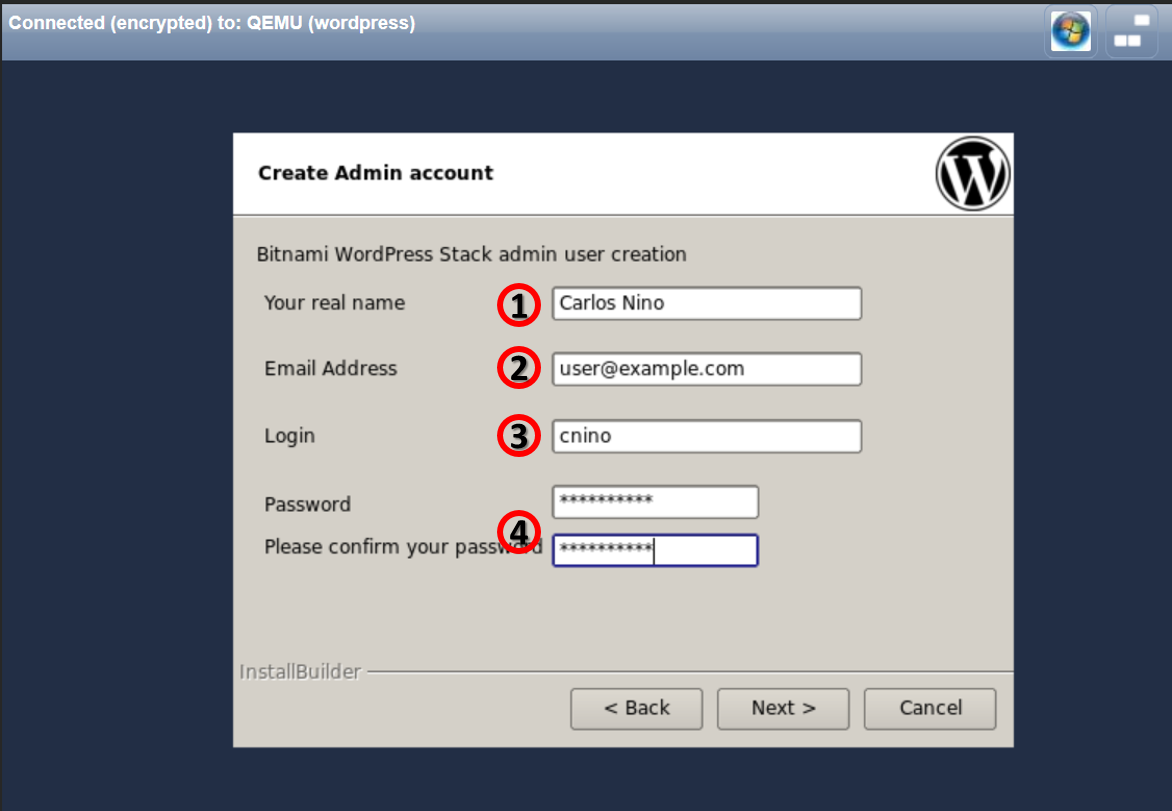
- Wordpress administrator name.
- Wordpress administrator email.
- Wordpress administrator username
- Wordpress administrator password.
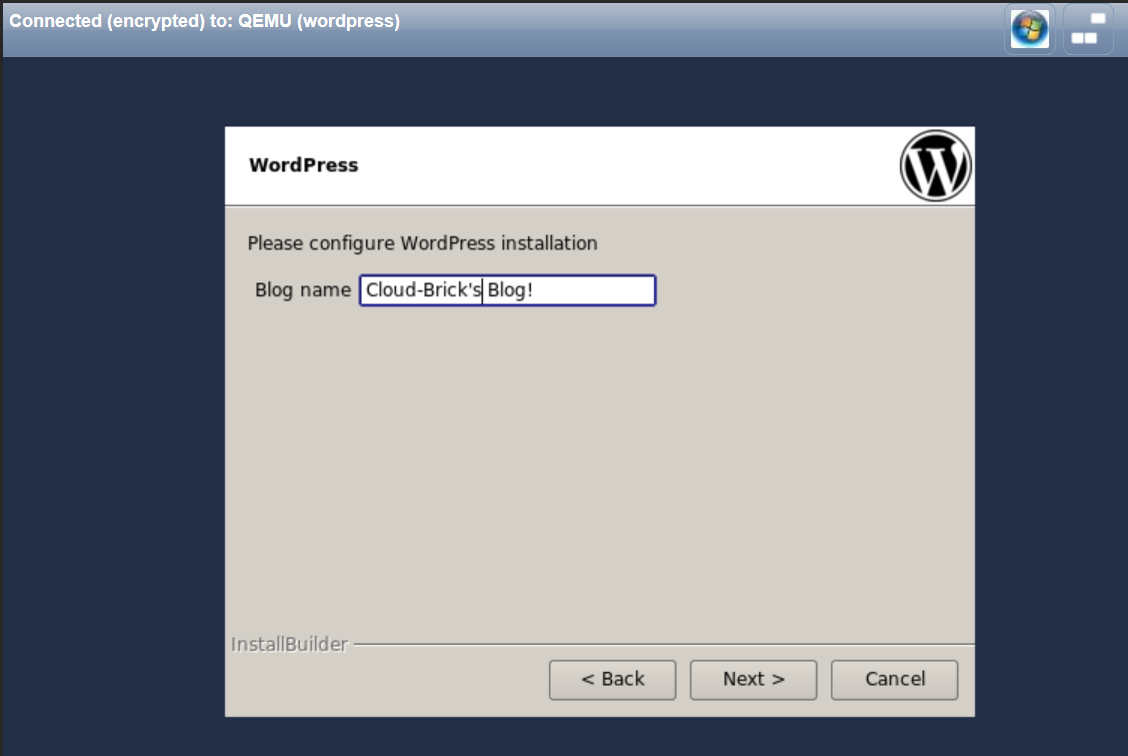
- Enter the name of Wordpress site. Click on Next.
If you want WordPress to send mail to the Internet, you can configure the service of sending email through a Gmail account.

Choosing the type of installation for this manual Production settings is selected. Click on Next.
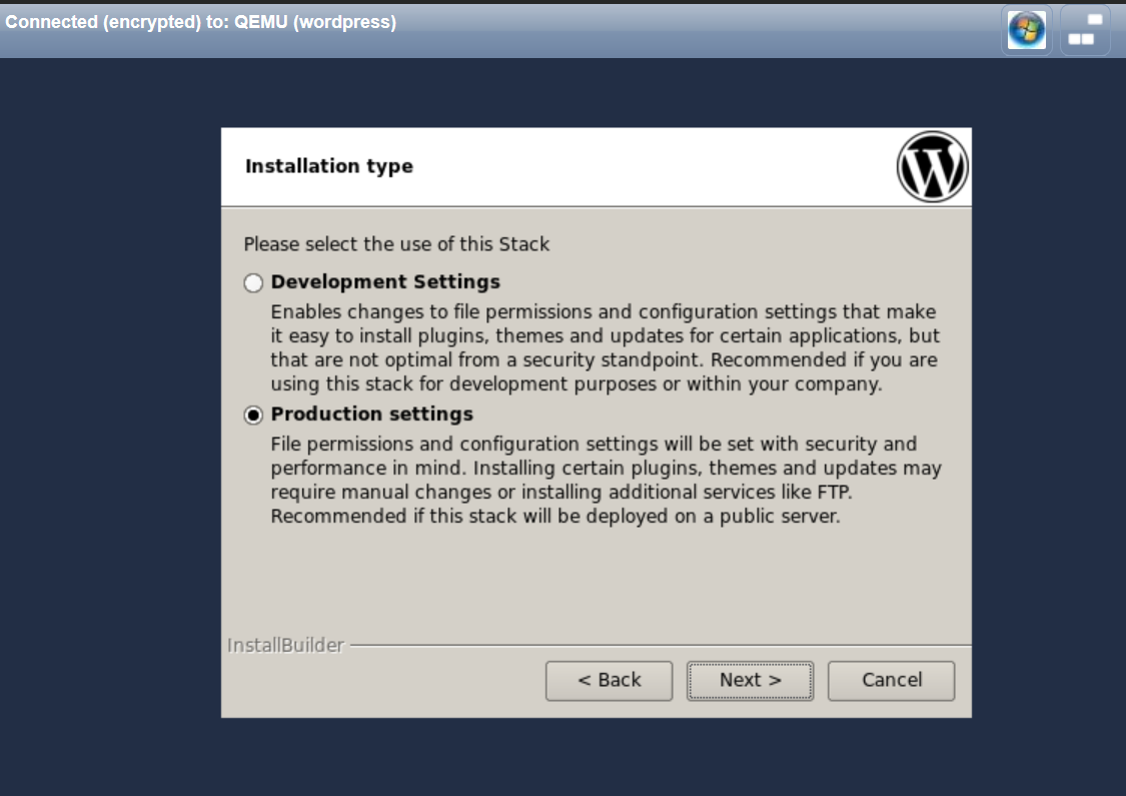
- Click on Next
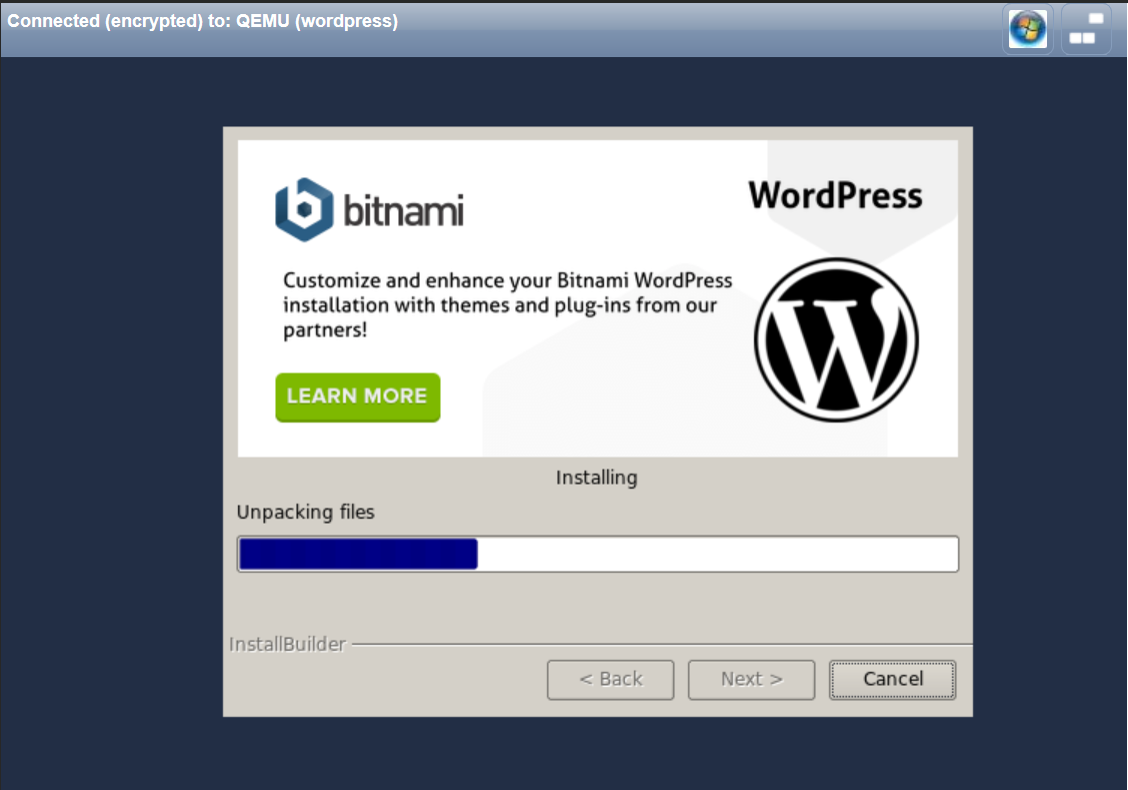
- We are ready to install, click Next.

- The installation process may take several minutes.
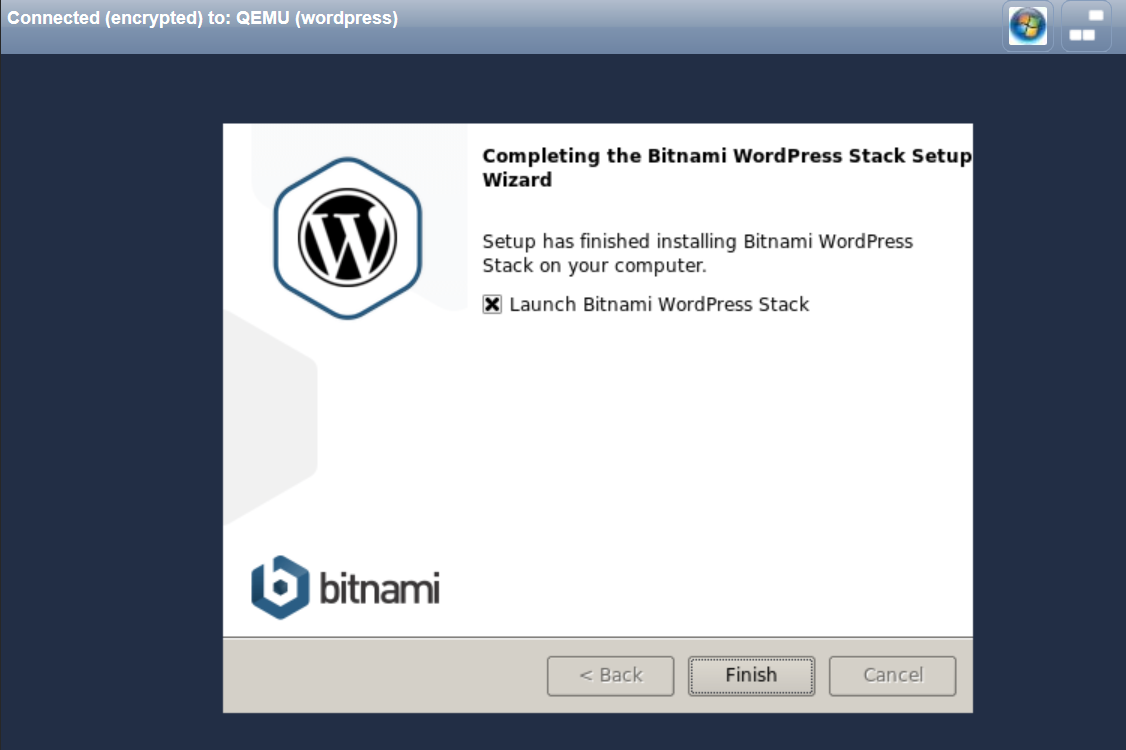
- At the end of the installation process, click on Finish to
restart the system.
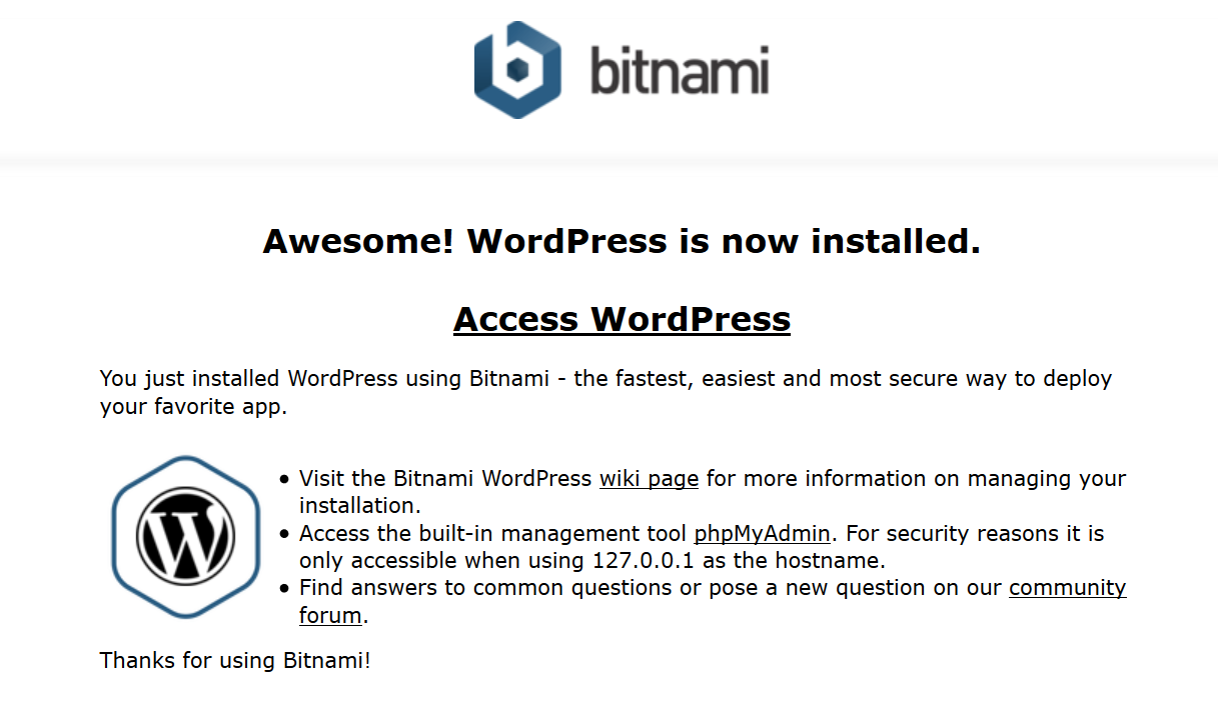
Wordpress as website
Wordpress installation with Bitnami is complete, the system
installs everything you need to run the website, that includes the
Apache web server running on port 80. However, the service is not
yet accessible through a browser, it is necessary to publish the
web service of the virtual machine.
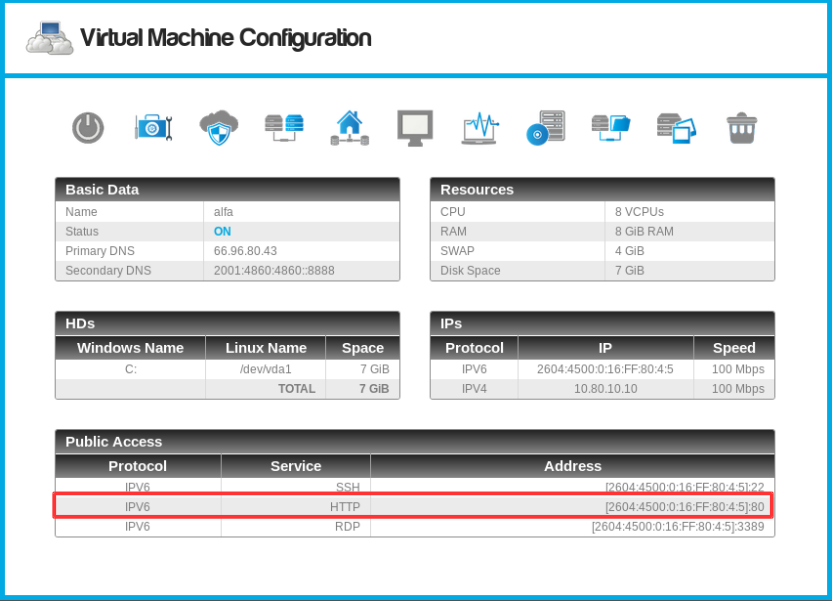
The "HTTP Server" element operation is based on the virtual server's Ip.
To create a Web server we are going to use the Virtual Machine IP Address; in the left menu go to
Web System> HTTP Servers.
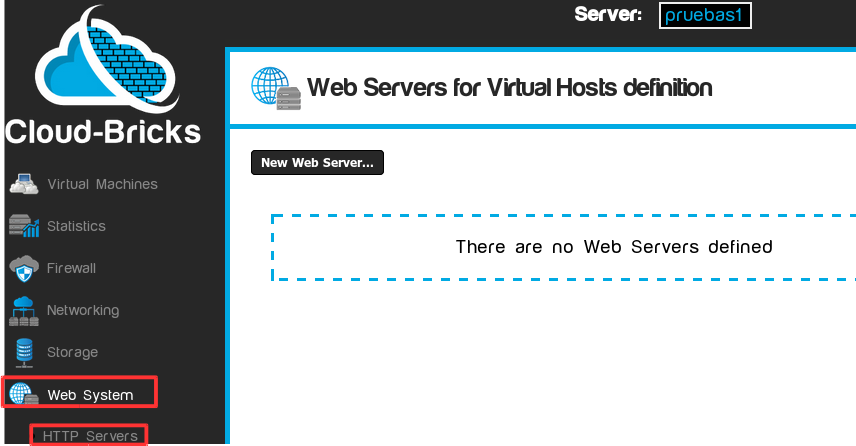
Click the New Web Server... button. Use the Virtual Machine IP Address and the Port where your webserver is running (normally 80)
The following example will create a HTTP server called WordPress:
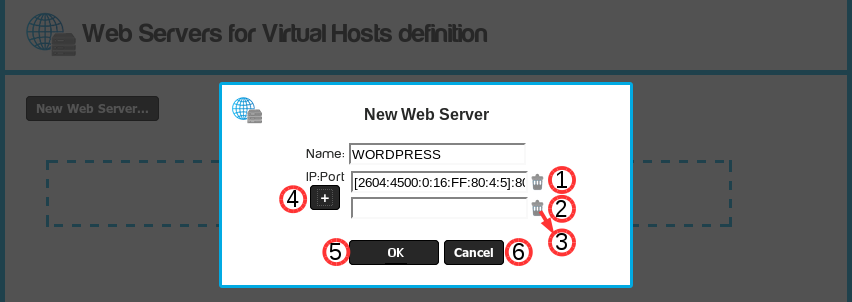
- Web server name
- IP: Port of the virtual machine that is running the Web Server
(use the information form the Virtual Machine screen).
- Delete button IP:Port.
- + button IP:Port:
- You can add multiple IPs and ports.
- If set more than one IP:port object, the HTTP server will
work as a load balancer distributing requests evenly between
all configured IPs.
- This mechanism is known as Round-Robin Load Balancing .
- OK button, allows you to update the list of Web servers in the previous screen.
- Cancel button, cancels the operation.
Click on the OK button.
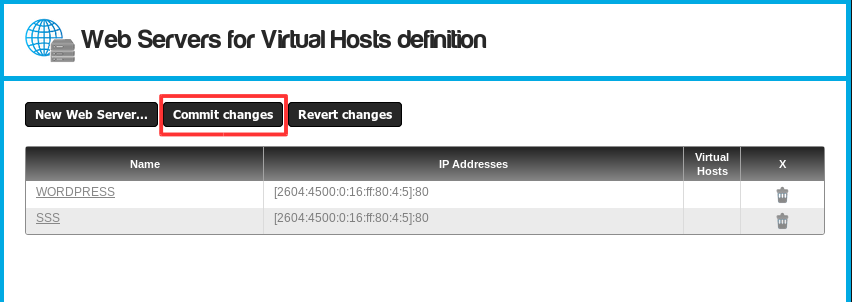
Click on the Commit Changes button to save the HTTP servers. The new HTTP server is now available and can be used to configure a Virtual Host.
- We already created a HTTP Server object, now the system knows
we have a Web Server running on the specified IP:port.
- Now we need to create a "Virtual Host" in order to associate a
domain name to the HTTP server we just created.
Setup a new Virtual Host
Go to Web System -> Virtual Hosts on the left menu.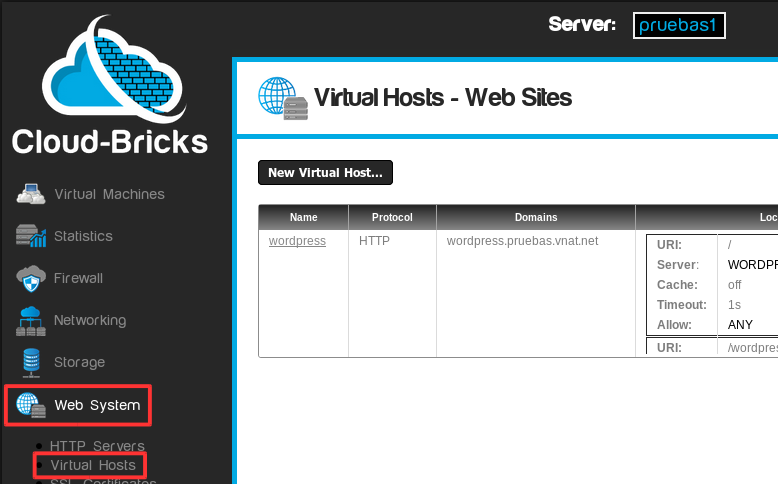
For a website to be visible on the Internet it is necessary to create a virtual host and configure the domains associated with it.
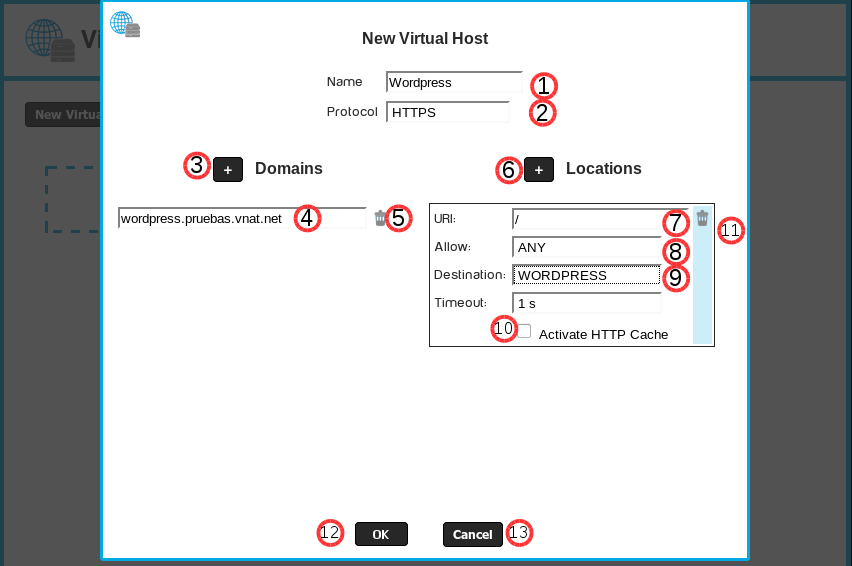
- Virtual host name, there can not be two identical names.
- Website protocol.
- HTTP: Normal protocol for Web sites, without security.
- HTTPS: Secure web protocol, uses SSL security layer.
In order to configure HTTPs a Certificate must be acquired first.
For more information go to the SSL Certificates section.
- Button to add domains: You can setup multiple virtual
domains on a single host.
- Domain name: Here you can add all domains that have been
purchased and are pointing to the Cloud.
We can also put the domain name system default which has the virtualMachineName.customerName.vnat.net format. - Domains delete button: Delete domains that have been added.
- Add Location button: Lets add multiple Locations that can be configured independently.
- URI : A URL is simply a URI that happens to point to a
physical resource over a network
For this example we will use the root of the website "/".
- Access Restriction: You can allow access to a single network
configured on machines
and Networks firewall section.
For this example we will give access to any machine on the Internet with ANY option.
- Virtualhost destination: It is the destination Traffic
Location.
It can be a Redirect 301 or 302, or an HTTP server.
For more information go to the HTTP Servers section.
For this example we will use a previously configured HTTP server called WORDPRESS.
- Option to enable HTTP cache Cloud-Bricks. For this example we'll leave unchecked.
- Locations delete button: You can delete Locations created, this
task is irreversible.
- OK button: When you click it, the Virtual Hosts list in the previous screen is updated.
- Cancel button: Cancels operations made.
 It is possible to edit the Wordpress site.